

Using Revit for Bridges and Other Infrastructure
My first love in 3D modeling was Sketchup, but the first time I set eyes on Revit Achitecture by Autodesk I knew I was experiencing modeling at an entirely different level. From the management and tools to the interface and the level of detail, Revit impressed me and I knew that those who could harness the power therein were likely drafting ninjas. I spent some serious time with the student version (I was a student, so it was legit) and was fairly comfortable within a few months. In my senior year of college I opted to use the software program to model our senior design project, and while it was a great experience and we ended up winning second in our category, I’ll save the entirety of that story for another day, because it is a good one (the images in this post are from that project).
Bridges have always meant something special to me when it comes to modeling in 3D. They are sort of a fundamental building block of civil engineering and, within them, carry both beauty and brains. A good bridge project gives you the opportunity to work with a variety of shapes, employ lofting, test textures and materials, model roadway features and potentially even detail internal features such as rebar or girders. I’ve modeled bridges in Sketchup, InfraWorks, Microstation and Revit (I just realized I haven’t modeled a bridge in AutoCAD so I will definitely put that on my list!)
Revit Architecture isn’t the software that most think of when they think bridges. It is primarily an architecture product and for good reason. The tools designed are specifically created to enhance the experience of an architect designing a building. Any other use is secondary. When I first used Revit on a bridge it wasn’t because I thought it was the best fit, it was simply the only tool I knew at the time other than Sketchup and I knew it would give me the best results between the two.
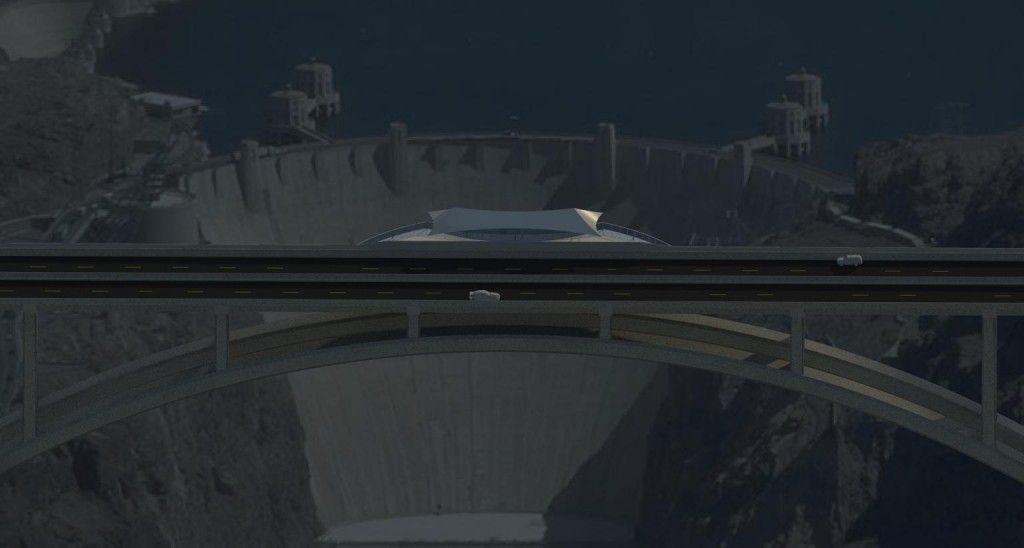
 Also keep in mind that this bridge that I was tackling was the Mike O’Callaghan–Pat Tillman Memorial Bridge– AKA, the Hoover Dam Bypass Bridge. As I was going to school at nearby UNLV as they were constructing it, I had the opportunity to talk to construction managers on the project and got my hands on some actual design documents. I figure most don’t first model a bridge in 3D in Revit using technical documents, especially one of the worlds largest, but I’m glad I did. It was a wonderful process and learning experience.
While I learned many things through the process, perhaps the most important lesson was simply the fact that Revit is a wonderful tool that can be used outside of the world of architecture. Sure, I probably wouldn’t buy the program just to model a bridge, but since it is now bundled with other CAD/3D software, it makes sense to get the best use out of it possible. It is a great program for modeling bridges as well as other infrastructure features such as barrier and guard rail, transmission towers, sidewalks and utility boxes, just for a few quick examples.
Additionally, knowing your way around Revit will prove extremely beneficial in the likely chance that you have to deal with a Revit file from an architect.
The power of 3D visualization will not come from a single software program but knowing a wide variety and how they all tie together.
Let me know your Revit adventures below.
(PS I know that Revit Structure available but I don’t know anything about it so this is entirely about using Revit Architecture for infrastructure modeling!)